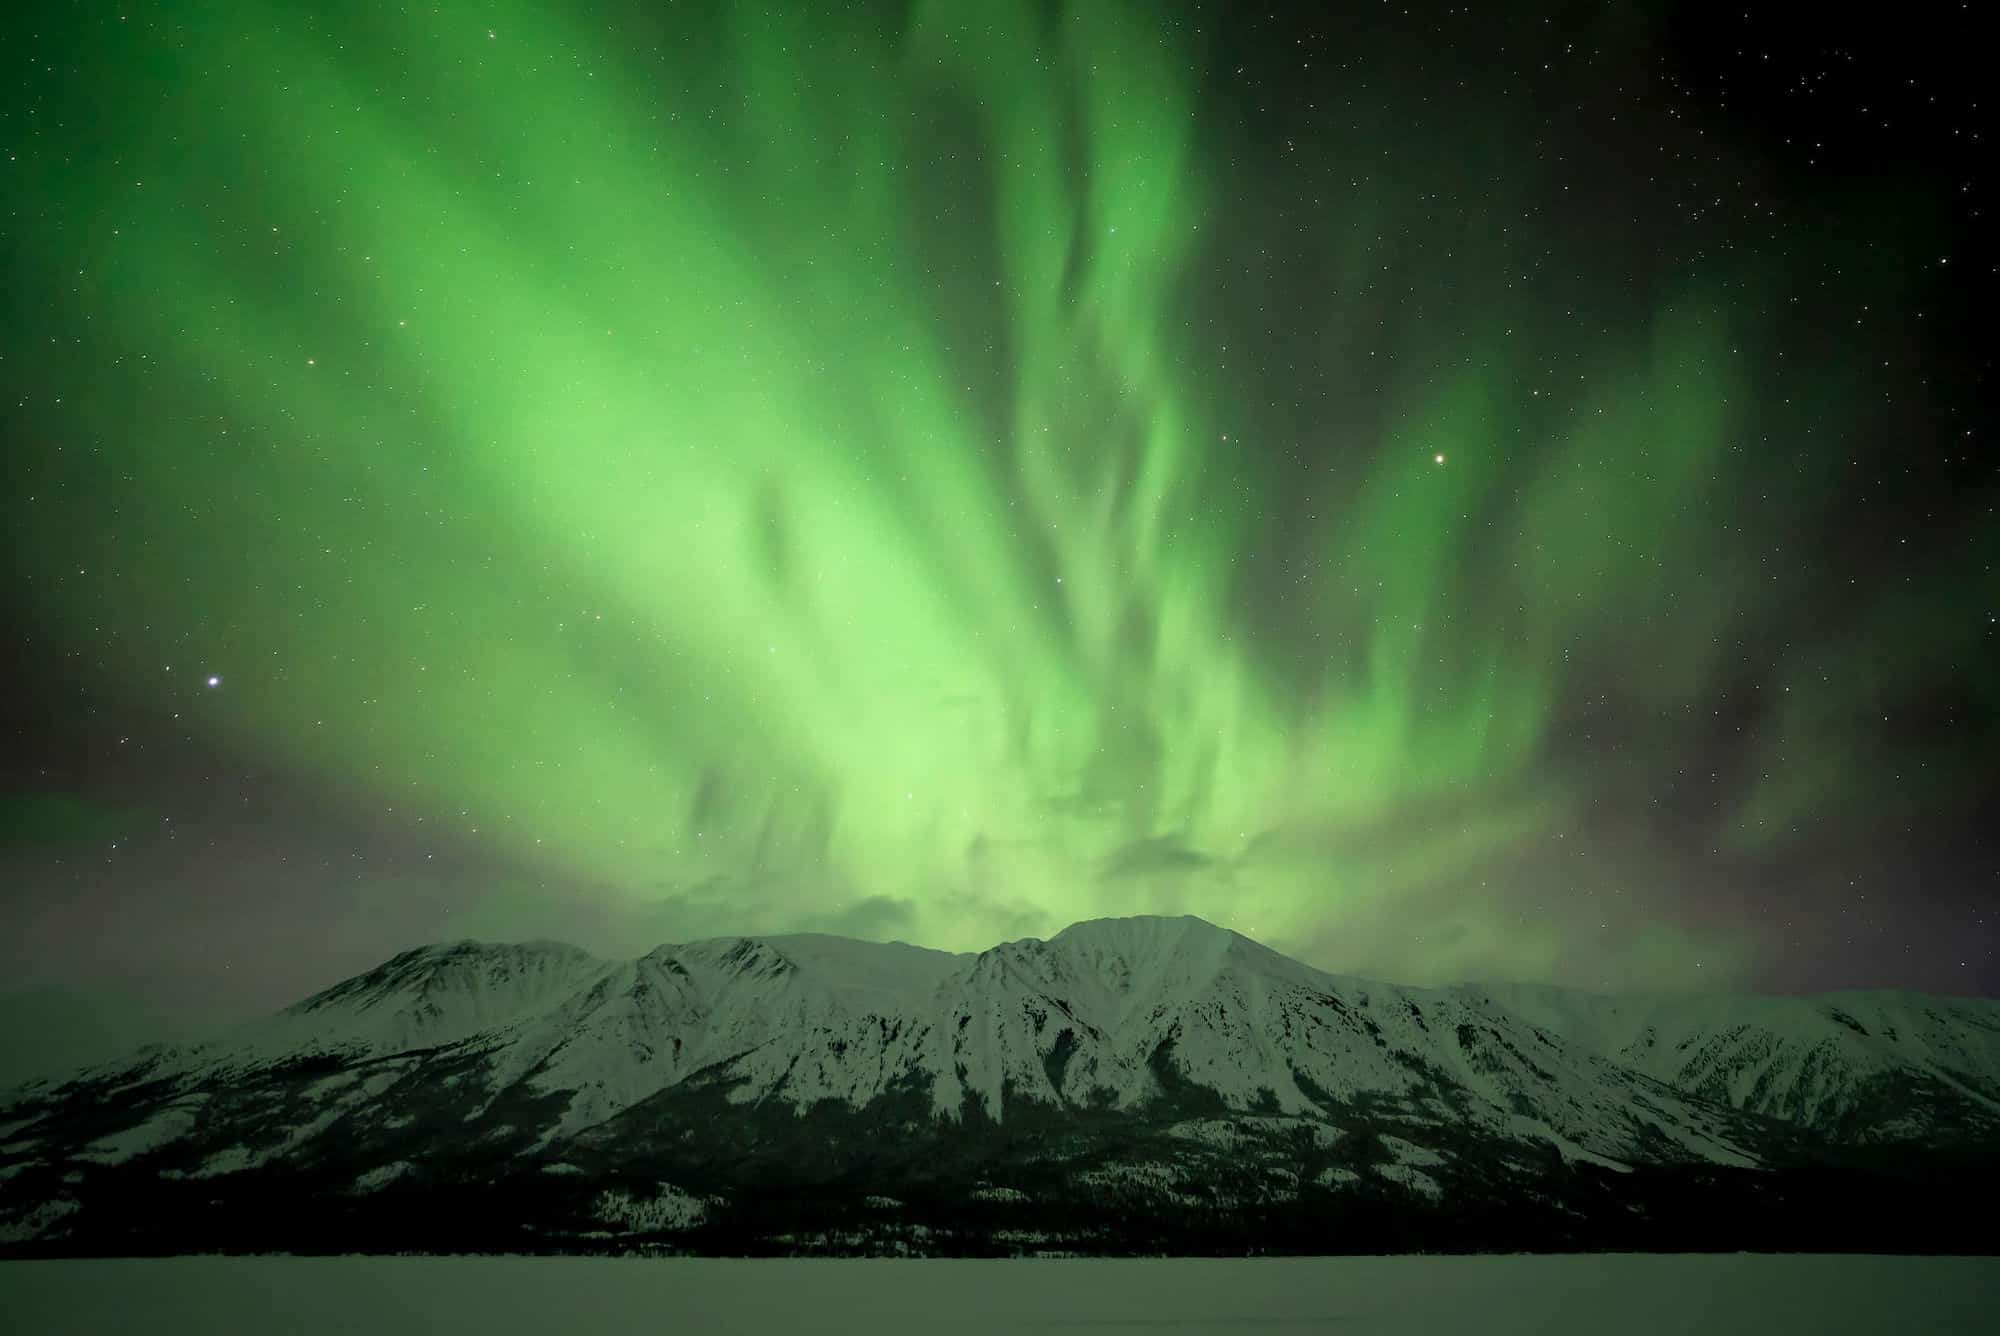
Your Guide to Photographing the Northern Lights in the Yukon
The Northern Lights, or aurora borealis, are one of nature’s most breathtaking displays, and the Yukon is an unparalleled destination to witness their splendor. For photography enthusiasts and adventurers alike, capturing the dancing lights against the Yukon’s pristine wilderness is a dream come true. Whether you’re a seasoned photographer or a beginner with a smartphone, this guide will teach you how to photograph the Northern Lights in the Yukon. From essential gear and camera settings to the best locations and times to visit, we’ll ensure you’re fully prepared to immortalize this once-in-a-lifetime spectacle.
Why is the Yukon Ideal for Northern Lights Photography?
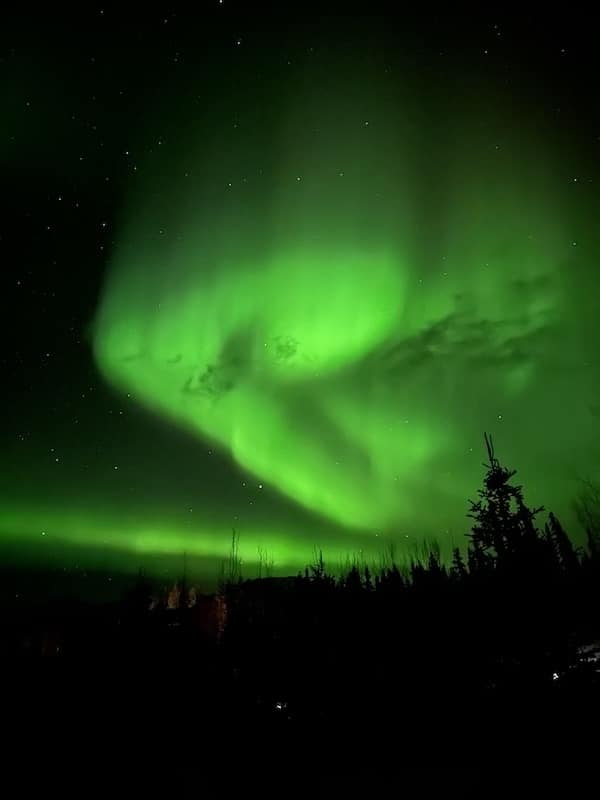
To answer this question we sent one of our staff members to the Yukon to find out (using our ultimate guide and an iPhone 14 Pro Max 😉). It turned out, the Yukon really is one of the best places on Earth to capture the mesmerizing beauty of the Northern Lights. Here’s why:
Clear Skies, Low Light Pollution:
Whitehorse and other Yukon destinations boast pristine, dark skies free from urban light pollution. The crisp winter air and minimal cloud cover during the aurora season create perfect conditions for capturing vivid greens, purples, and reds.
Prime Location Under the Aurora Oval:
The Yukon lies directly beneath the aurora oval, a ring-shaped region around the magnetic poles where the Northern Lights are most active. This positioning increases your chances of witnessing the lights on any given night.
Iconic Landscapes as Backdrops:
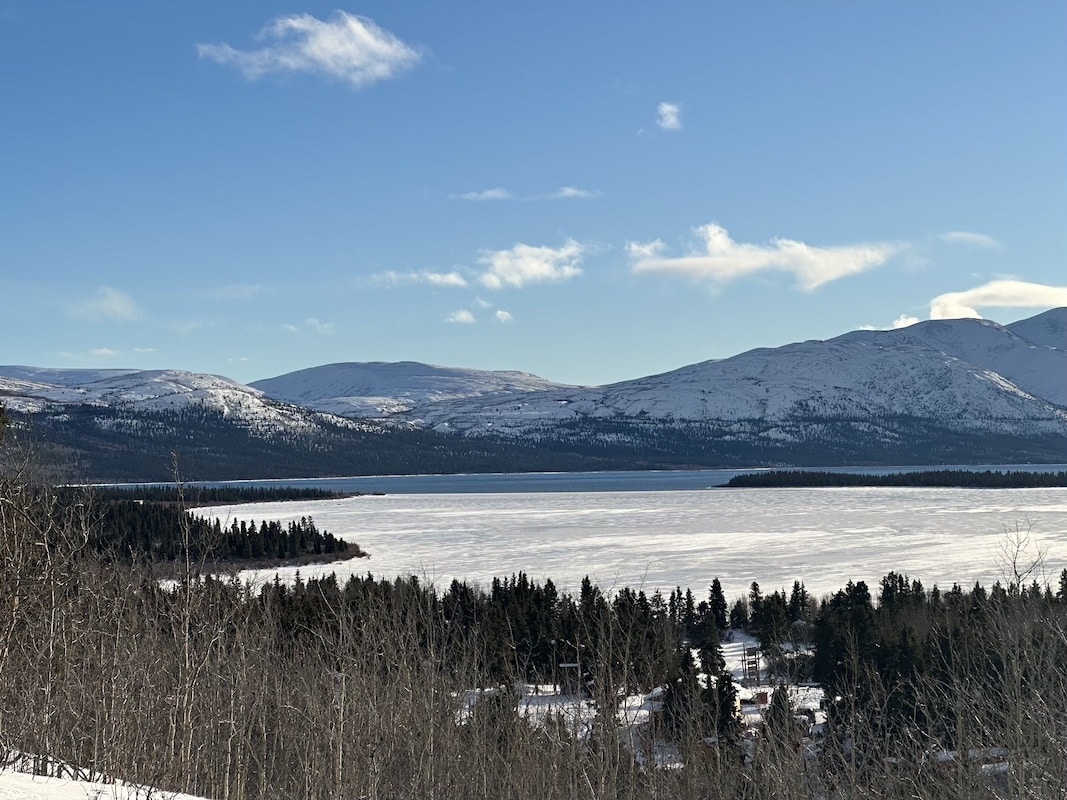
Pair the magic of the Northern Lights with the Yukon’s dramatic scenery. Think towering mountain ranges, frozen lakes, and snow-covered forests that add depth and scale to your photos.
Extended Viewing Seasons:
From late August to mid-April, the Yukon’s long aurora season provides ample opportunities for photographers. Whether you prefer crisp autumn nights or the deep chill of winter, you’ll have months to chase the perfect shot.
📸 Pro Tip: It doesn’t matter which device you decide to use, but make sure to have a tripod to capture the full expanse of the sky and the surrounding Yukon wilderness.
What to Expect on a Northern Lights Tour in the Yukon
Embarking on a Northern Lights tour in the Yukon is a bucket-list experience for photographers and adventurers alike. Here’s what you can look forward to:
Expert Guidance:
Local guides are well-versed in tracking aurora activity and finding the best spots around Whitehorse and beyond for unobstructed views. They’ll also share tips for adjusting your camera settings to capture the perfect shot.
Comfortable Viewing Stations:
Many tours provide cozy yurts or heated cabins, ensuring you stay warm between photographing the Northern Lights under the open sky. Some even offer hot beverages and snacks to keep you energized.
Cultural Experiences:
The Yukon isn’t just about the lights. Expect to learn about Indigenous legends surrounding the aurora and enjoy the opportunity to immerse yourself in the area’s rich history and culture.
Stunning Photo Opportunities:
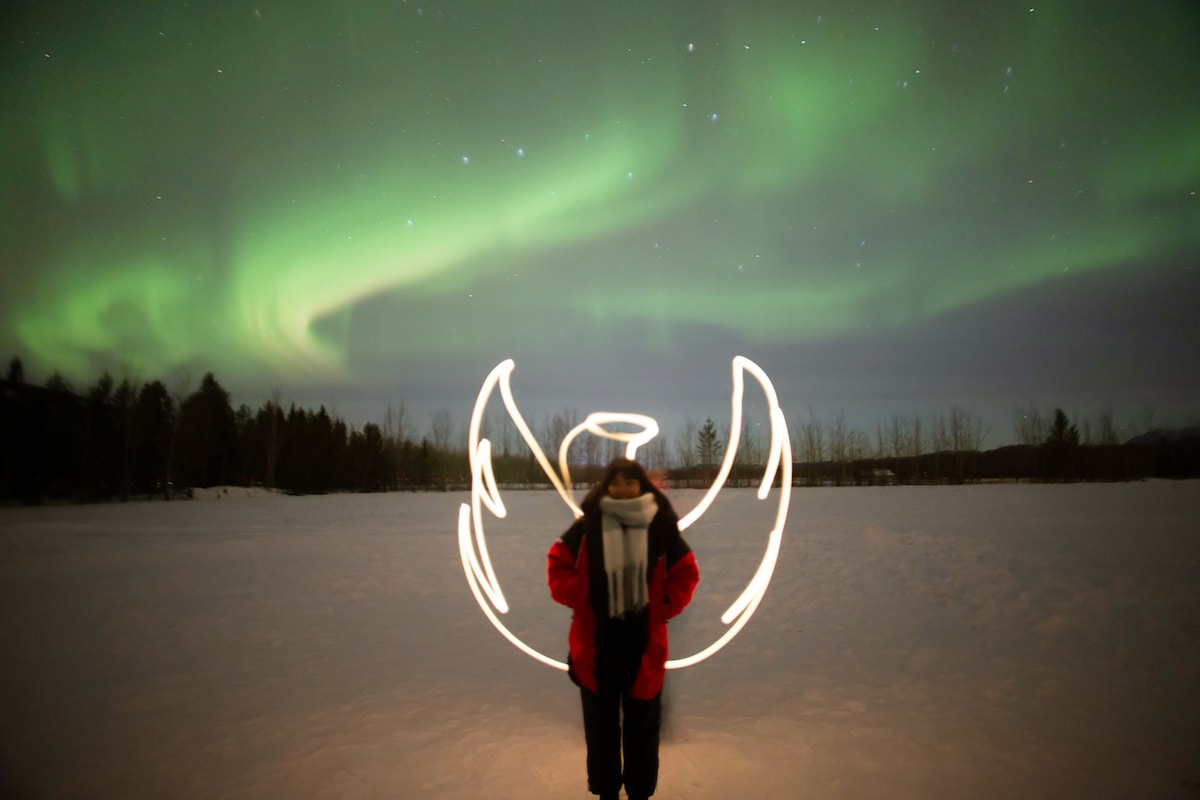
Each night brings something new—watch the lights dance above serene lakes, rugged peaks, or snow-blanketed forests. Whether you’re a pro or a hobbyist, the Yukon’s diverse landscapes make every shot unique.
📸 Pro Tip: Dress in layers and bring spare camera batteries. The cold Yukon’s temperatures can drain power quickly. The best way to store the batteries would be inside your inner layers ideally a breast pocket where you would keep more body heat – this way the battery temperature stays warm before use!
By joining a Northern Lights tour, you’ll not only increase your chances of seeing the aurora but also come away with incredible stories, memories, and photos to last a lifetime. We’ve had countless reviews calling out the amazing adventures that are shared between
iPhone Camera Settings:
- Open Camera: Your phone will automatically go into Night Mode (a little moon icon will appear).
- Adjust Shutter Speed: Tap the moon icon and slide the exposure bar all the way up to the max. The max amount of seconds for the shutter is dependent on how stable your phone is.
- Hold Really REALLY Still: Keep your phone as still as possible to avoid blurry images as the shutter will stay open for 10 whole seconds. Any slight movement will mean a blurry image.
Hot tip: Come prepared with a tripod device. Alternatively stand your phone against something solid for stability and you will see the best results for your photos.
As long as you have your phone completely still, the max amount of seconds for the shutter speed will be 30 seconds. If you are holding the phone yourself the max number of seconds will be 10 seconds.


Note: You do also have the option to adjust the camera’s exposure. But under most circumstances where you will be out in the wild, this option will not make a significant difference to the quality of your photo.
Android camera settings:
- Switch to Pro Mode: Open your camera settings and find “Pro” mode.
- Set ISO: Adjust the ISO to around 800-1600 (this controls light sensitivity).
- Shutter Speed: Set to 10-20 seconds for longer exposure.
- Aperture: Use the widest aperture your phone allows.
Focus: Set your focus to infinity or manually fine-tune.


DSLR or Mirrorless camera settings:
- Manual Mode: Take control by switching your camera to manual settings.
- ISO: Start with an ISO of 1600-3200.
- Shutter Speed: Try 10-25 seconds.
- Aperture: Use f/2.8 or as wide as your lens can go.
Focus: Manually set your focus to infinity.


Tips for All Devices:
- Be Patient: The Northern Lights move and shift quickly, so you may need to adjust your settings.
- Find a Dark Area: Avoid areas with light pollution for clearer images. Canada is home to some of the largest dark sky preserves in the world – if you’re lucky you’ll find yourself viewing the aurora borealis from one of these reserves.
- Stay Warm: Make sure to dress warmly if you’re shooting in cold conditions!
Use a tripod: We can’t emphasize how much the importance of a stable camera is to avoid any motion blur.*
SOLAR MAX IS HAPPENING!
Why is it important to know how to set up your phone camera for shooting the aurora borealis? Because 2024/25 will see the BIGGEST solar activity for the next 11 years!
The Solar Max is the end of the sun’s eleven-year cycle. This means its magnetic field flips so that its north pole becomes its south and vice versa! it takes approximately eleven years for the Sun to fully rotate! During the final year of the cycle, the sun displays large solar activity continuously creating an amazingly vivid aurora borealis experience for Earth!
Now that we’ve equipped you with all the knowledge you need to whip out your phone and take some professional photos of the Northern Lights. If you’re looking to learn more about visiting the Yukon, check out our other blogs on the best time of year to see the Northern Lights and the best way to see the Northern Lights.
Plan Your Yukon Northern Lights Adventure
Photographing the Northern Lights in the Yukon is more than just capturing stunning visuals—it’s an experience that leaves lasting memories. With the tips and techniques in this guide, you’re ready to venture into the Yukon and capture images that truly do the aurora borealis justice. To make your adventure unforgettable, let Discover Canada Tours take care of the details. With expert guides, comfortable accommodations, and a passion for the North, we’re here to help you witness and photograph the Northern Lights at their best. Book your Northern Lights tour with us today and start planning your perfect Yukon adventure!


